Accessing the Upgrade Window
To open the Upgrade Window in AutoCAD, type one of the following commands and press Enter:
-
BlockRestore | BRestore
-
BlockDetect | BDetect
-
BlockScan | BScan
-
IntelliBlocks | IBlocks
Upon entering any of these commands, the Upgrade Window will appear.
Upgrade Window Overview
The Upgrade Window consists of three major sections:
-
Main Drawings to Upgrade (left side)
-
Definition Drawings and Their Blocks (right side)
-
Other Controls and Settings (bottom side)
Below is a breakdown of key interface elements and options.
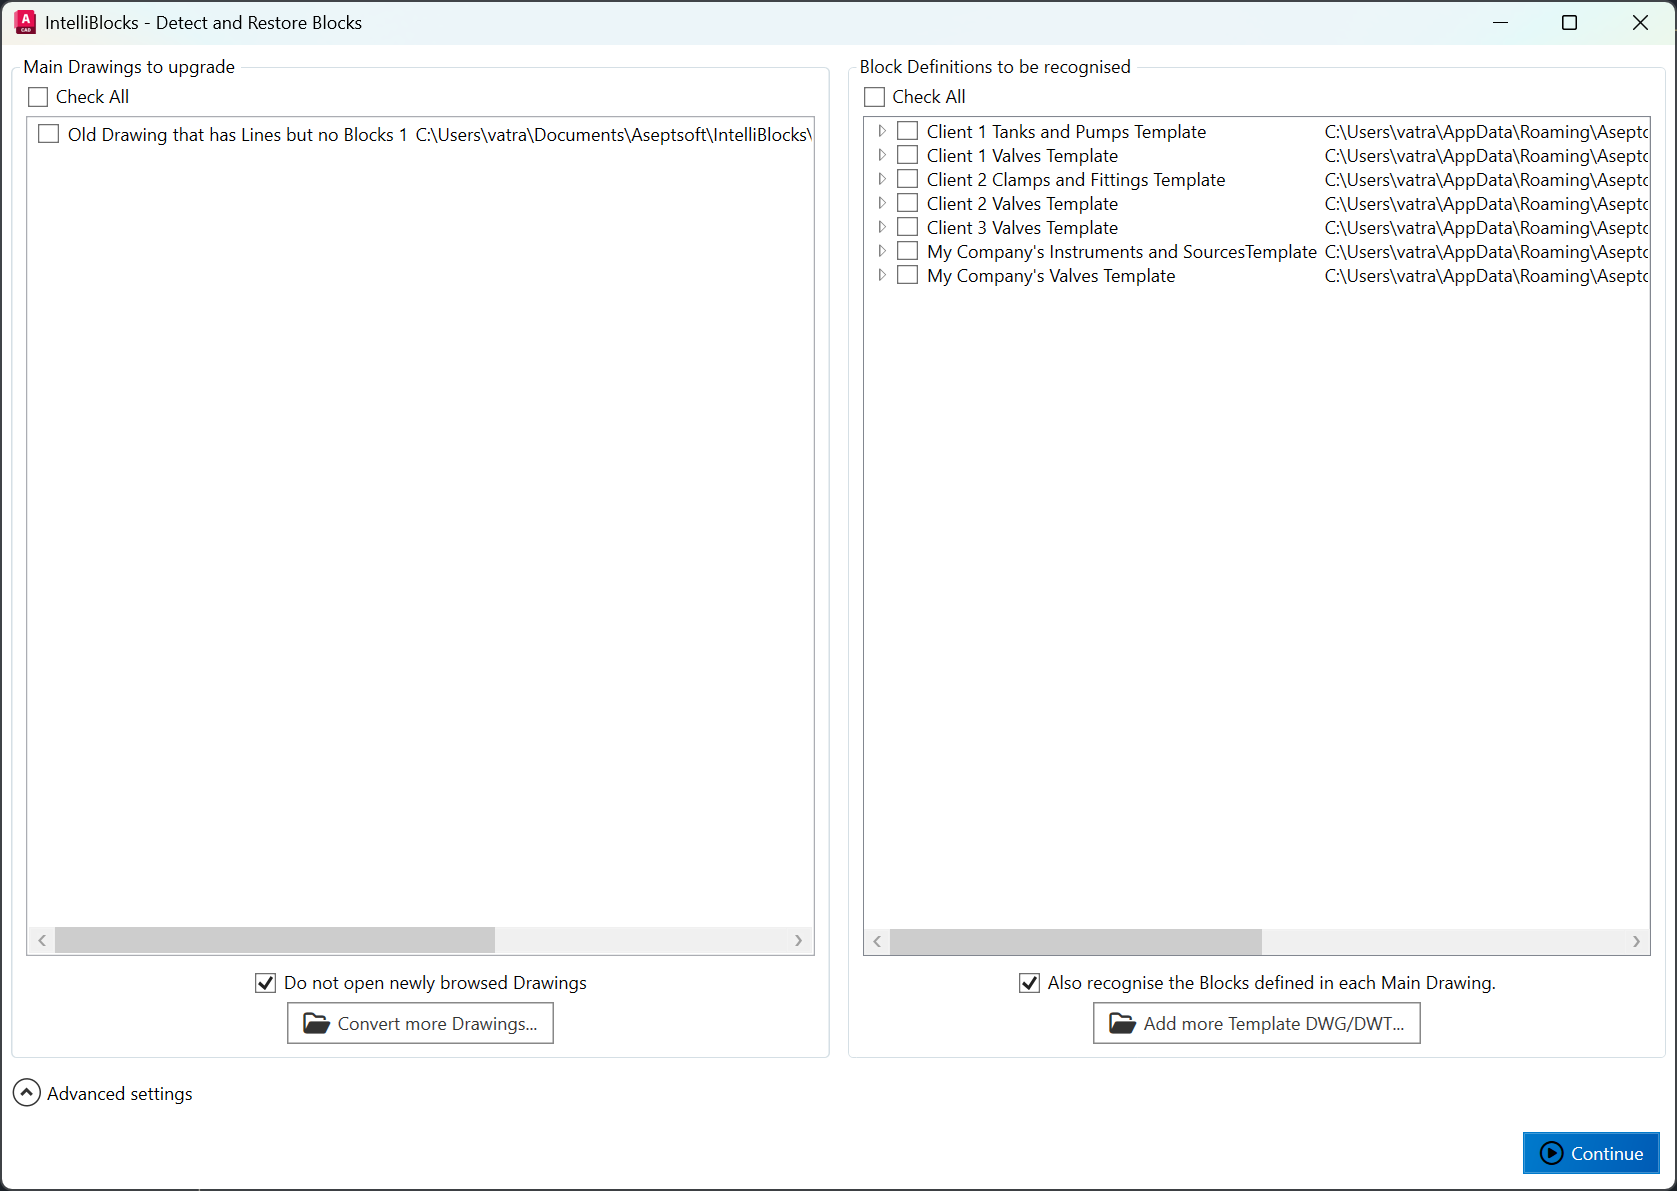
A) Main Drawings Section
-
Main Drawings List – Displays drawings scheduled for scanning and upgrading.
-
Load More Drawings – Allows additional drawings to be loaded for processing.
-
Do not open newly browsed Drawings Checkbox – determines if the Load More Drawings button will make the drawings visible in AutoCAD (in this case you need to save them manually), or if they will be upgraded in the background, remaining hidden to the user (the upgraded files will be saved to the disc automatically).
Tip: Click “Load More Drawings” to locate and add additional files for processing.
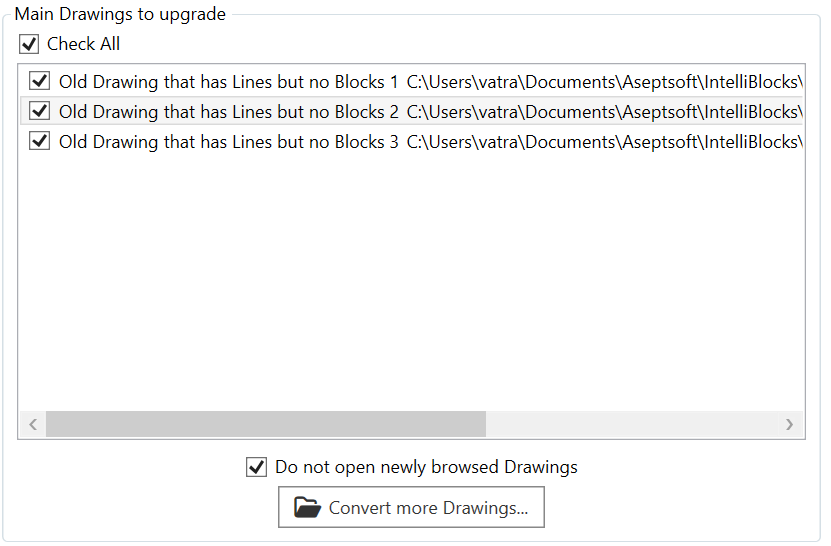
B) Definition Drawings Section
-
Definition Drawings Tree – Lists extra definition drawings containing block definitions that IntelliBlocks will try to match and insert within the Main Drawings.
-
Self-Evaluate Block Definitions – If checked, IntelliBlocks will try to match and insert within a main drawing not only Blocks defined within the selected Block Definition, but also blocks defined within that particular Main Drawing that is being upgraded. Check if it the blocks that you want to upgrade are defined within the same drawing that is being upgraded, and not only in the template files.
-
Load More Definition Drawings – Adds more definition drawings if needed.
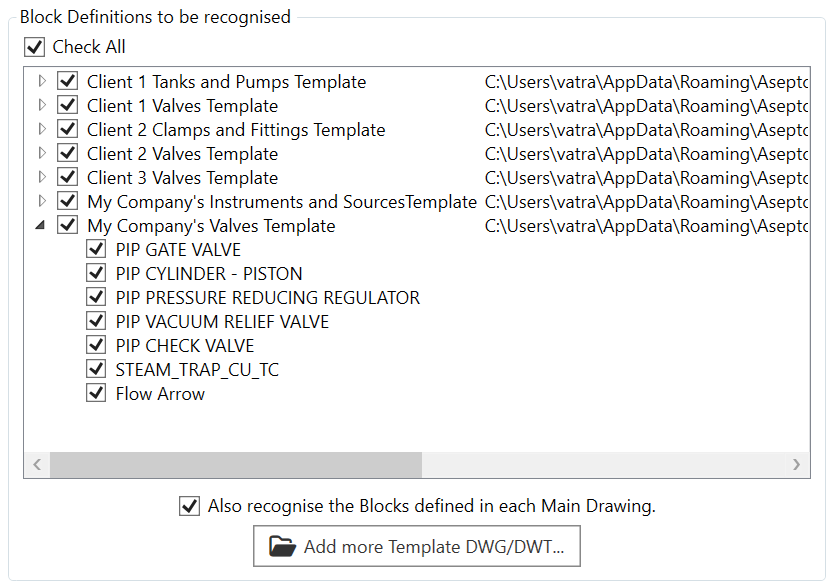
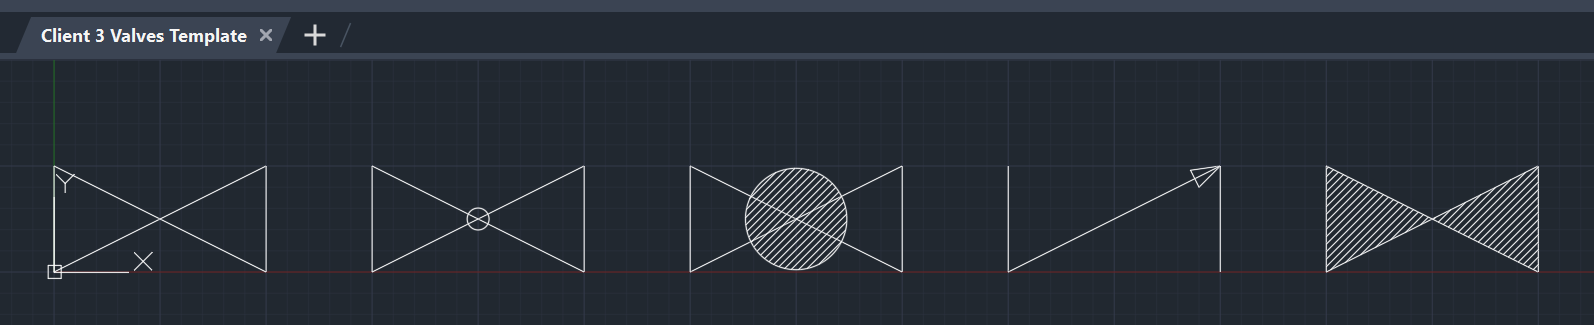
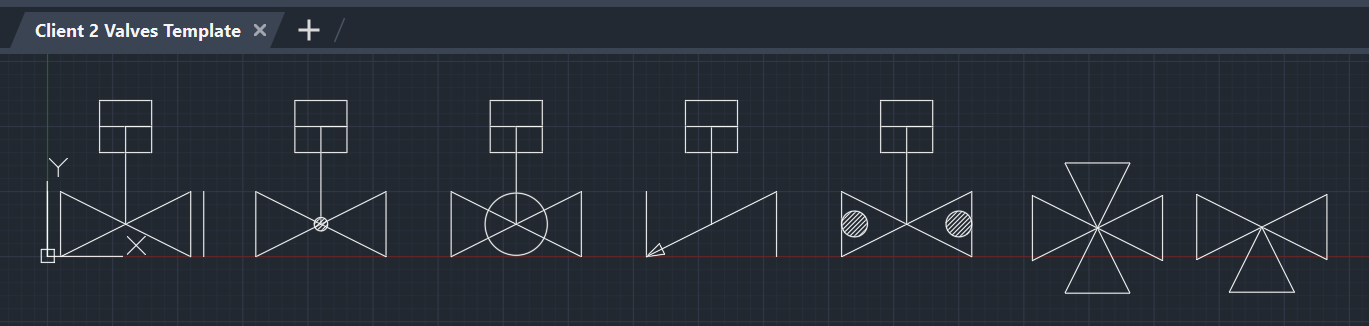
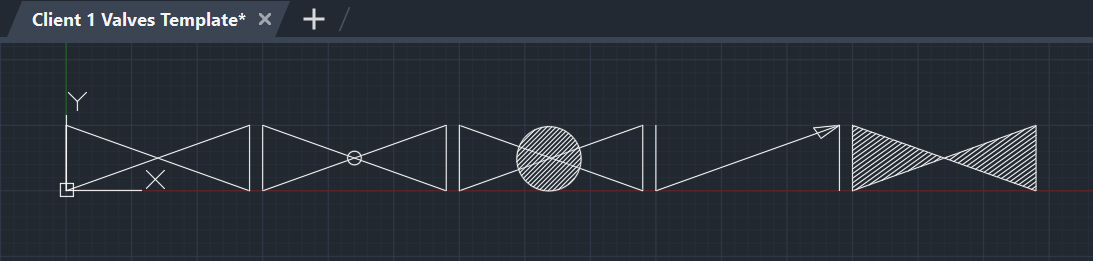
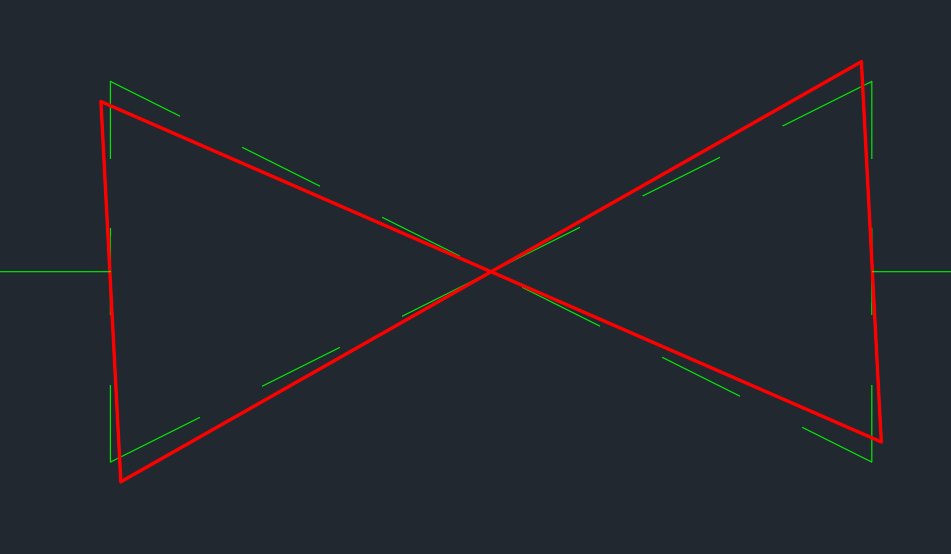
Below is the visualisation of the template files in the image above

C) Advanced Settings
-
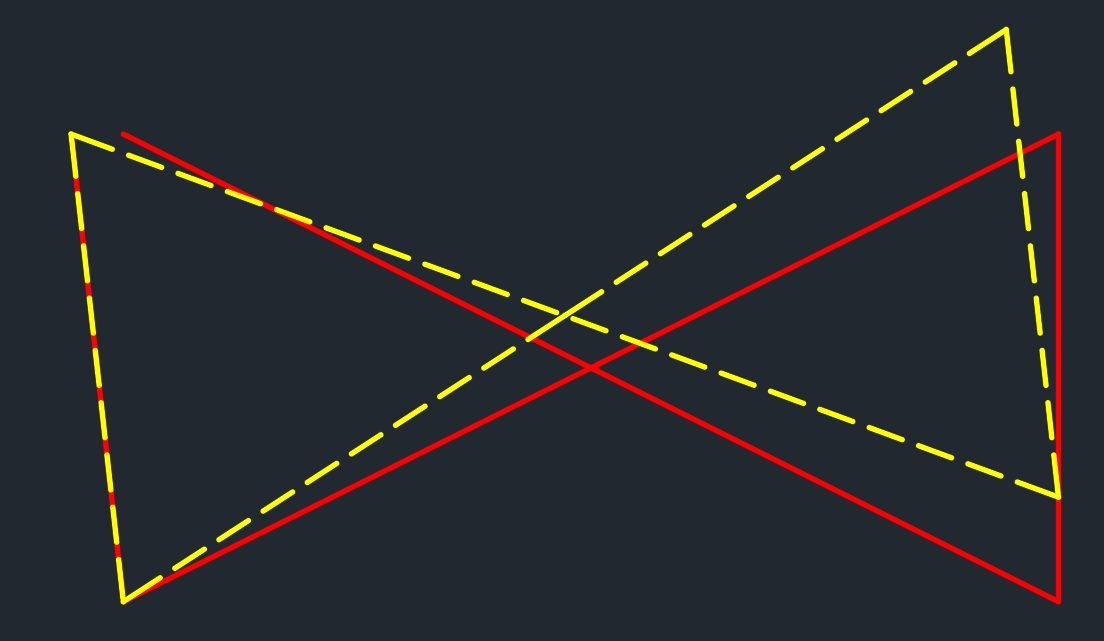
Tolerance Settings: Adjust point tolerance, length tolerance, and angle tolerance.
During geometrical matching, if the software finds some degree of mismatch, you can instruct it to approve it if the mismatch is within the given tolerance.
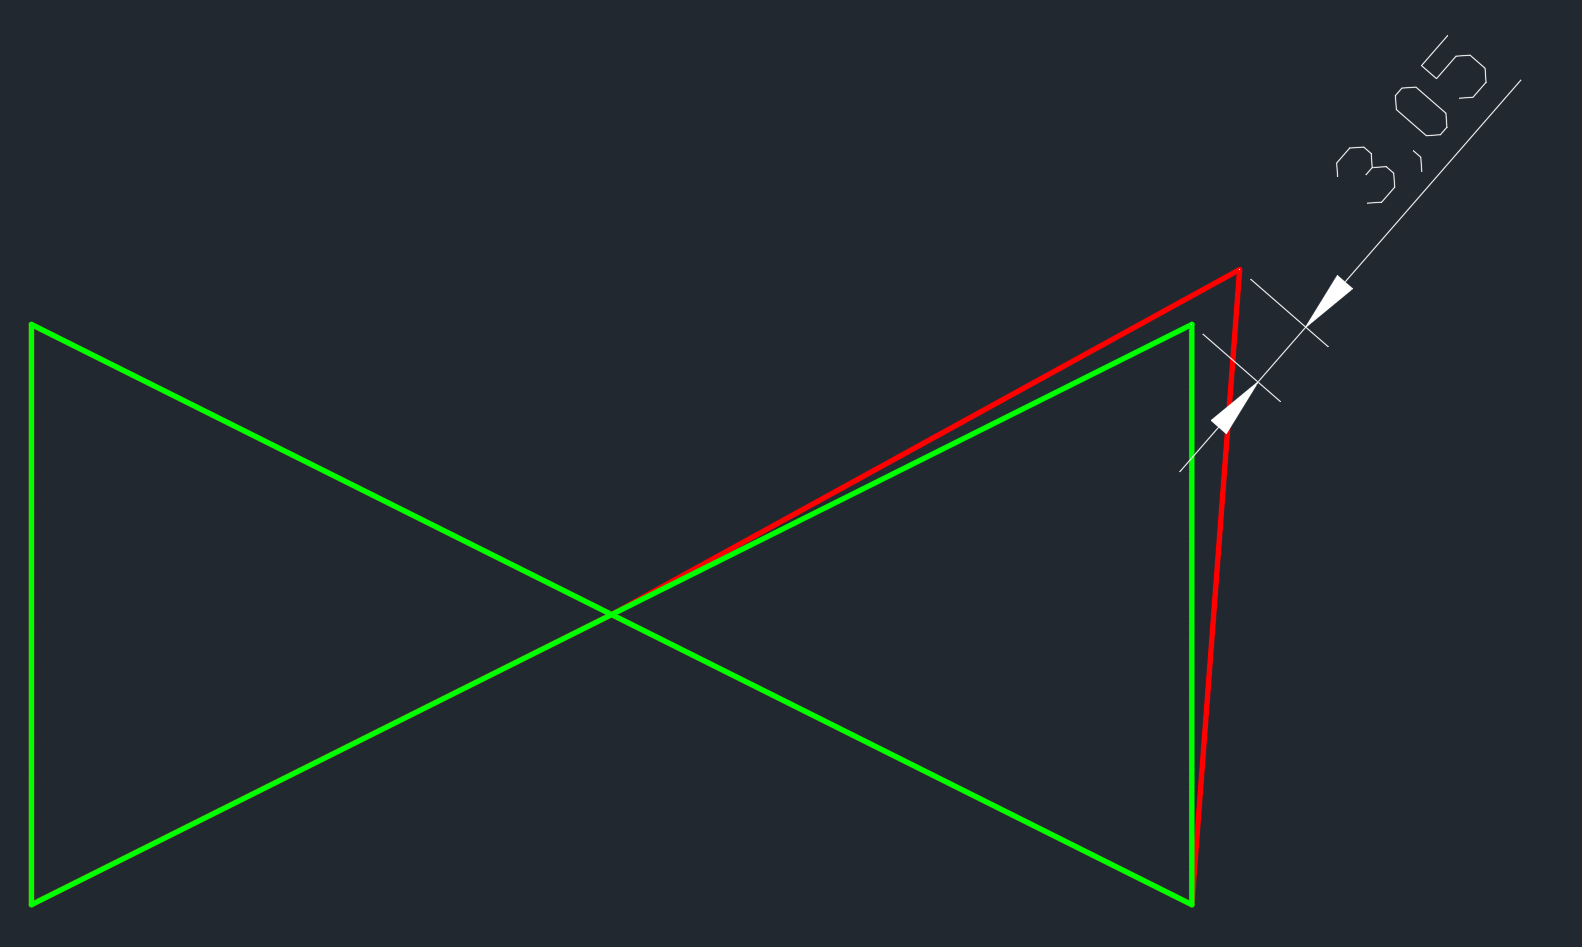
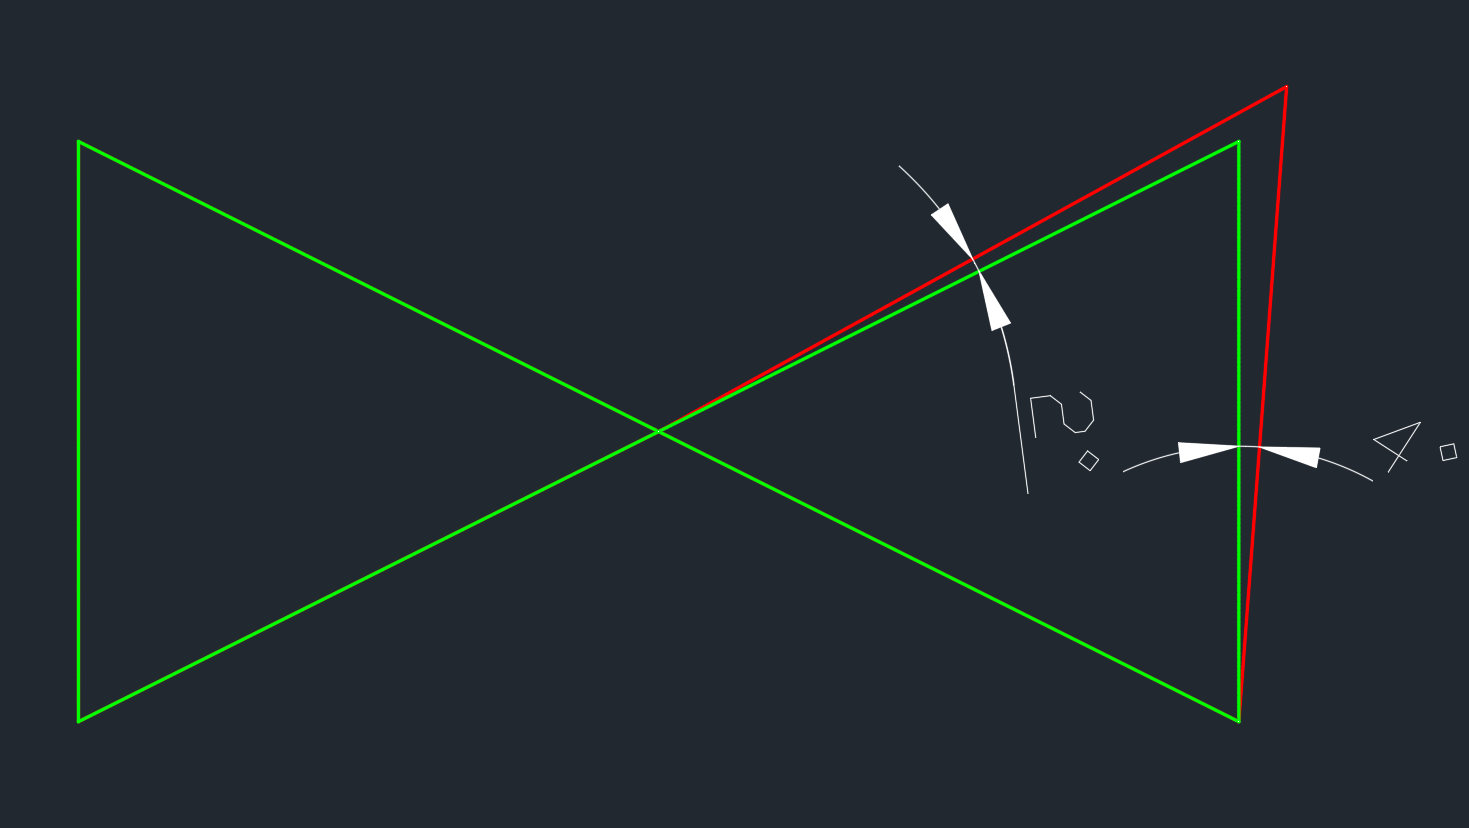
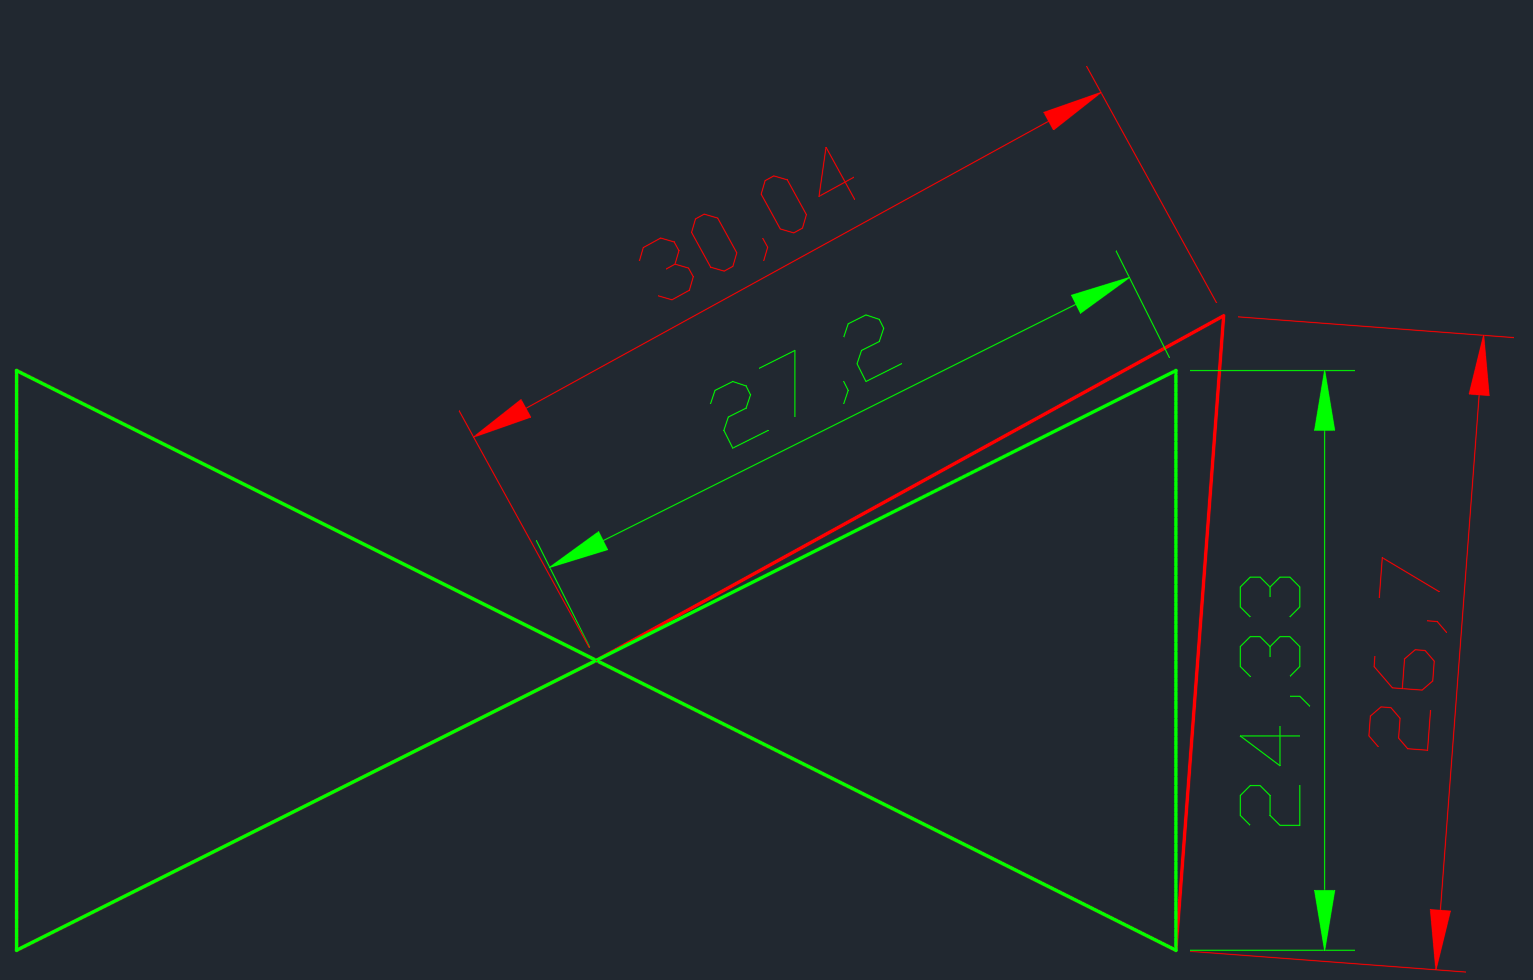
Tip: In the examples above, big numbers have been used to highlight the tolerances. In practice, they are usually very small.
-
Use Low Fidelity Mode: When enabled, IntelliBlocks will use the first projection of a block that fits within the given tolerances in the Drawing. Normally when this setting stays disabled, after finding the fist projection, it will continue with further calculations to find the best possible way to insert the new block. Enable this ONLY if you have
-
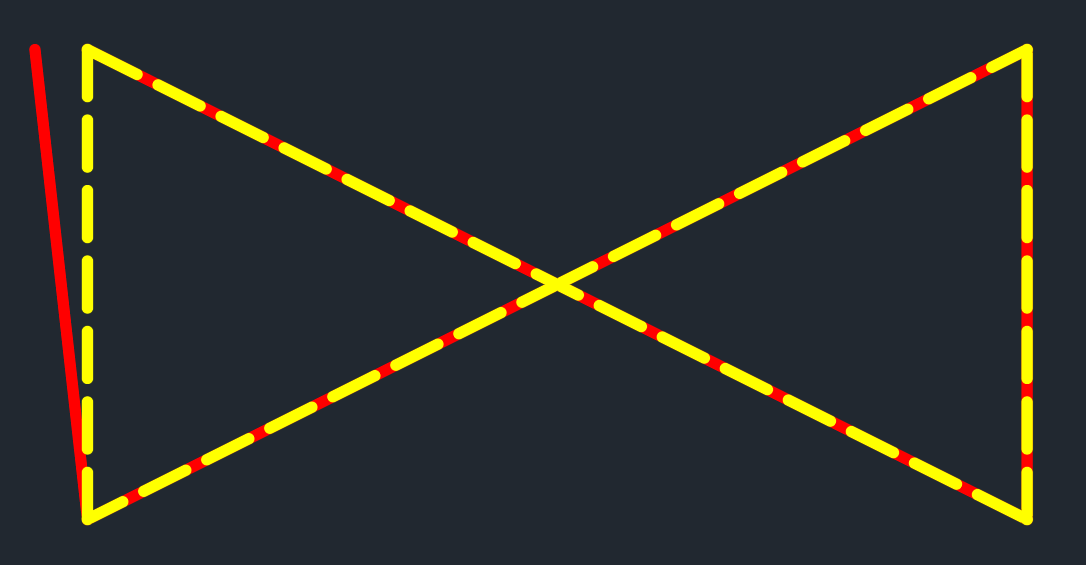
Snapping Settings: If the old geometry does not align perfectly within the drawing, you can instruct IntelliBlocks to perform slight corrections.
-
Rotation Snapping Tolerance represents the maximum number of degrees that IntelliBlocks is permited to rotate the upgraded block, in order for it to snap to one of the desired angles, described in the next setting:
-
Snap Rounds To is a list of angles to which we want the block to snap to if it’s close enough.
-
Scale Snapping Tolerance represents the maximum difference the the scale at insertion that IntelliBlocks is permited to change for the block to reach the desired decimal point value
-
Snap Decimal point contains a number which IntelliBlocks looks at in order to determine how many decimals it has after the point, to try snap the scale of the inserted blocks to that same number of decimals if within the Scale Snapping Tolerane.
-

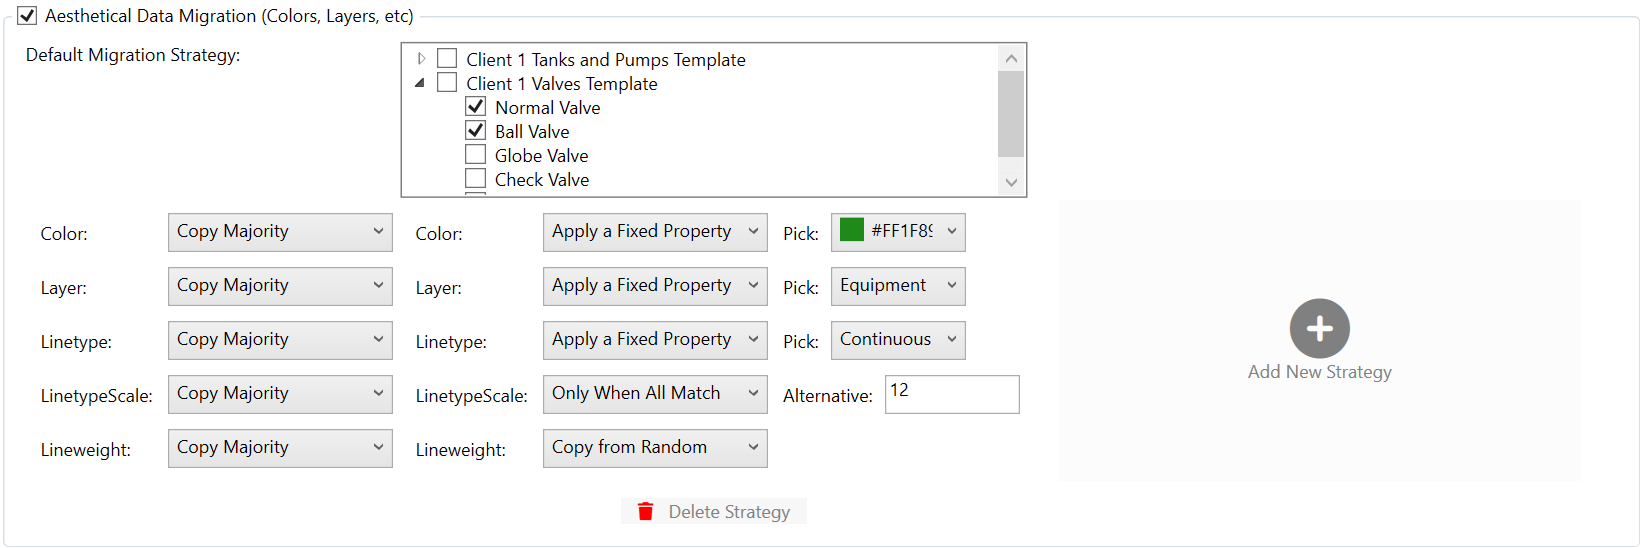
D) Aesthetic Data Migration
-
Default Migration Strategy: You can configure how colors, layers, linetypes, etc. are copied from recognized geometry onto the new blocks.
-
Add New Strategy: If you want different aesthetic behaviors for some blocks, you can create more custom strategies. Each strategy can target a specific set of block definitions and use a specialized color/layer approach.
When geometry is recognized and replaced by a block, you can control how the new block reference’s visual properties (layer, color, linetype, etc.) are decided. You’ll see multiple Copy Strategy choices, and any that can “fail” (e.g., a disagreement in geometry properties) will display an Alternative Picker for you to specify a fallback value (instead of simply defaulting to ByBlock).
Below are the displayed names of the strategies and how they work:
-
Only When All Match
-
The property (e.g. color) is migrated if every piece of recognized geometry uses the exact same value.
-
If any piece differs, this strategy “fails,” and you must pick an alternative via the fallback picker.
-
-
Only When Relevant Match
-
Similar to above, but only checks “relevant geometry” (i.e., any previous geometry whose matching geometry in the block definition is set to a specific property, not
ByBlock). -
If that relevant set doesn’t match 100%, the strategy fails and displays the fallback picker.
-
-
Copy Majority
-
Looks at all recognized geometry and picks the property that appears most often.
-
If no clear majority (or if there’s a perfect tie), the strategy fails and uses your chosen fallback.
-
-
Majority of Relevant
-
Same as Copy Majority, but excludes geometry that’s not “relevant.” Again, “relevant” means the block definition’s geometry actually has a fixed property (not
ByBlock). -
If a tie or no single majority, it fails and prompts for the fallback.
-
-
Copy from Random
-
Arbitrarily selects the property from one piece of recognized geometry.
-
Even so, if something about the property is conflicting or invalid, you’ll see the fallback picker.
-
-
Copy from Random Relevant
-
Same as above, but only from “relevant” geometry.
-
Still uses the fallback picker if a conflict arises.
-
-
Apply a Fixed Property
-
Ignores all recognized geometry properties and forces the new block reference to a fixed value (like a specific layer or color).
-
This never “fails,” so no fallback is required.
-
-
Do Not Migrate
-
Skips all property copying; the new block references get whatever default you normally have (often
ByBlock). -
No fallback needed.
-
Note on Relevant Geometry: “Relevant” geometry is any part of the original drawing where the corresponding entity in the block definition is not set to
ByBlock. So if the block definition’s geometry itself was originallyByBlock, it doesn’t participate in these “relevancy” checks.
E) Execute Upgrade
-
Click “Execute Upgrade” to start the block scanning and upgrade process based on selected options.
-
Recognized Shapes & Symbols
The software detects and matches standard AutoCAD entities to locate and align block references, which include:-
Lines
-
Circles
-
Arcs
-
Ellipses and Elliptical Arcs
-
Polylines
-
Splines
-
Solids and Wipeouts
-
Hatch or Gradient Boundaries
-
Single-line Text or Multi-line Text
-
Attributes
These shapes and symbols help the system accurately identify block placements across the drawings.
-
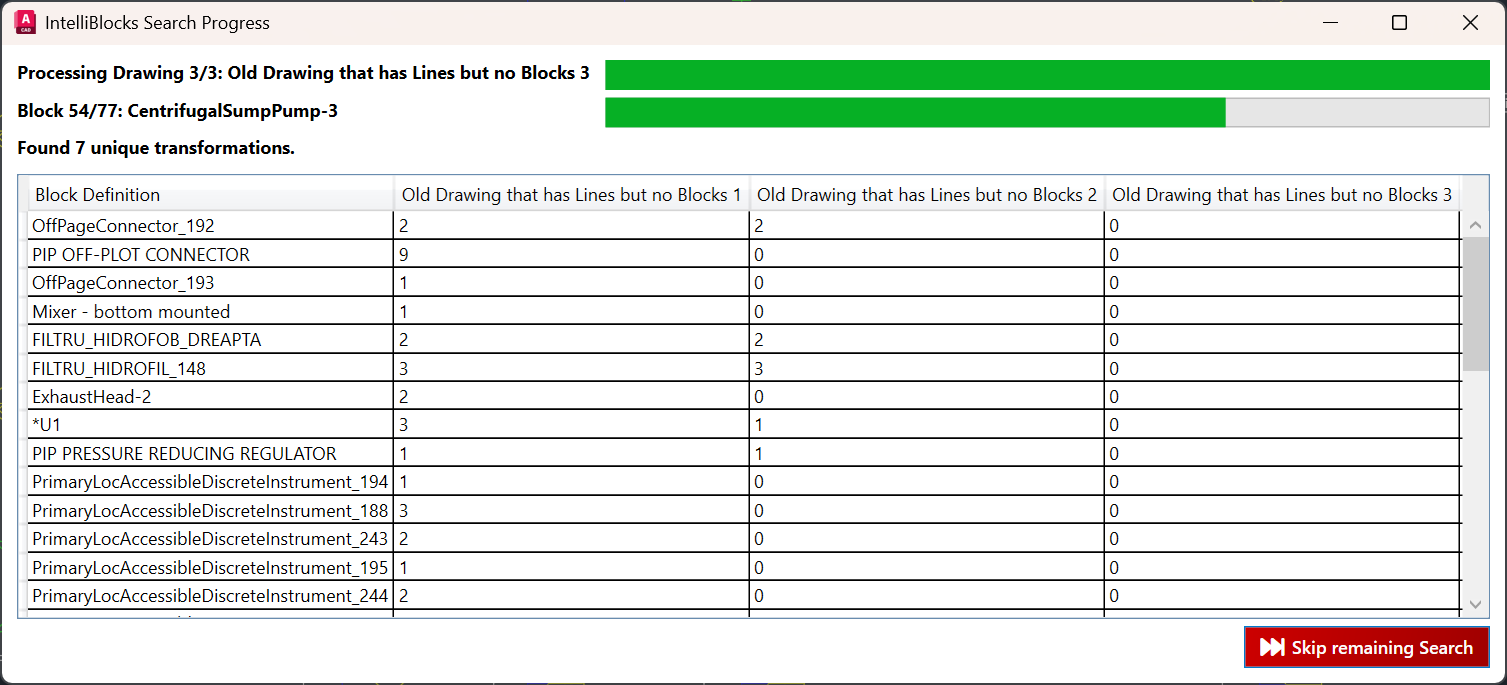
3) Progress Window
While IntelliBlocks processes the drawings, a Progress Window will display:
-
The current drawing being processed.
-
Remaining blocks or steps.
-
A “Skip” button to stop scanning early if needed.
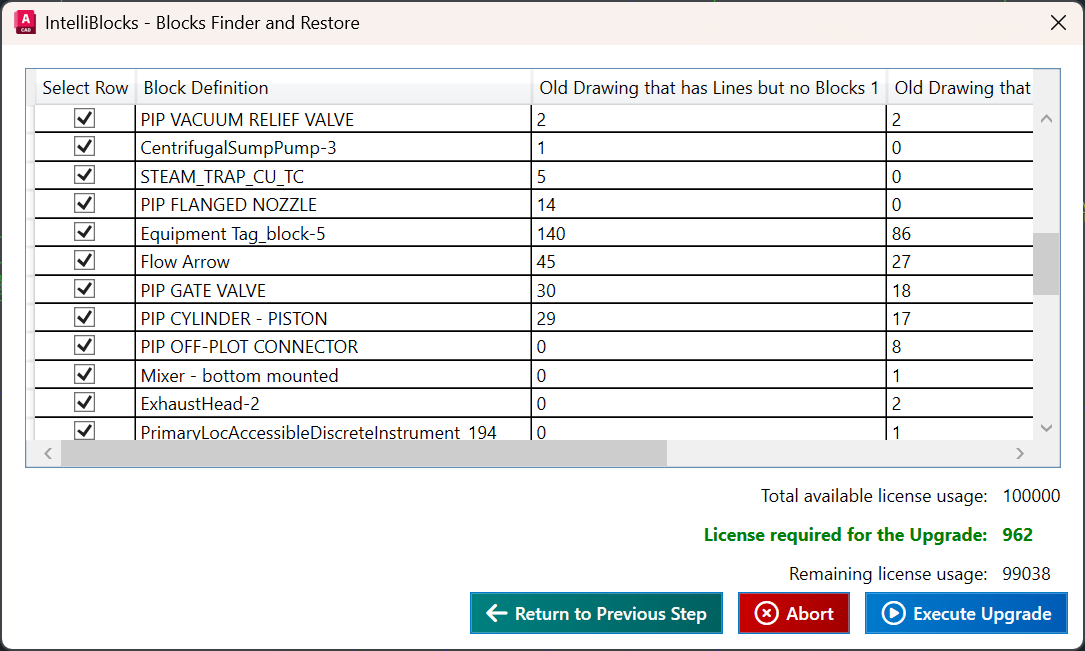
4) License Check Window
The License Check Window will appear as the final step before the upgrade to verify license usage and credit consumption.
-
Displays block replacements that will consume credits.
-
Allows you to check or uncheck replacements.
-
Shows total credit consumption based on selections.
-
Buttons
-
Proceed: Confirm that you want to finalize and replace geometry with blocks.
-
Return to Previous Step: Go back to the Upgrade Window if you want to change tolerances or block selections.
-
Abort: Stop the entire operation without making changes.
-
Note: If you return to the previous step, the calculated results at this step will be lost, and IntelliBlocks will start the calculations from scratch when you come back to this window next time.
5) Finishing Up
All upgraded blocks will be applied to the selected drawings.
Once you click Proceed in the License Check Window, the system will:
-
Delete geometry that matches a block definition (according to your tolerances).
-
Insert the recognized blocks at the correct scale, rotation, and position.
-
If “Aesthetical Data Migration” was enabled, it applies any layers, colors, or linetypes you specified.
Common Tips & Best Practices
-
Check Tolerances: If no matches are found, consider widening your
Point/Length/Angle Tolerancesto get more thorough matches. -
Save Drawings: After finalizing, always confirm that your drawing changes are saved to disk or that you’re satisfied with the transaction results.