Class Grouping
Setting up Automatic Class Grouping will enable all the classes that fall under the same group to automatically share all the settings, and will always be presented under the name of the Group rather than the name of the class.
Use Cases
In the following situations we need to use Class Grouping:
Multiple classes use the same setting: In the case we have an Instrument_Model1 and another Instrument_Model2, both having the same behaviour, the same Phenomenon recognition rule, and the same Tag recognition rule, we might want to group both these classes into one single class, so we don’t need to create the settings twice, and so we don’t need to maintain the settings twice.

Two classes of instruments, but with the same settings
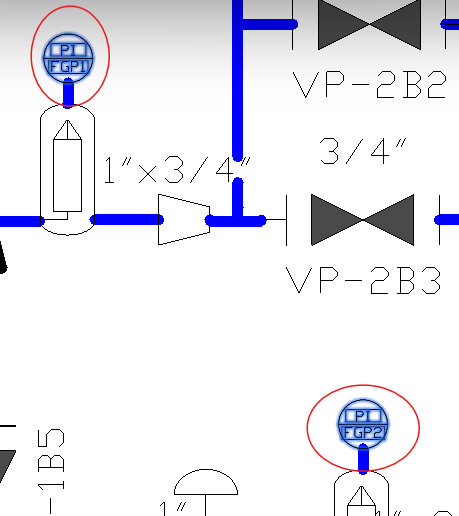
COMOS-exported DWG P&IDs: In native DWG files we would see that all similar instances inherit a single class. For example all three instruments below are in the same Instrument_Model1 class.

However, when the DWG file si an export from COMOS, we will notice that each of the instruments will have an own class: Instrument_Model1_PI_FI, Instrument_Model1_TI_F2, Intrument_Model1_FI_F3.
That makes it almost impossible to go to each class and apply the recognition settings, as we would need to go to each individual instance in order to repeat the same settings.AutoCAD Plant 3D-exported DWG P&IDs: similarly to COMOS exports from the previous point, we might encounter the same problem with native AutoCAD Plant 3D drawings that we export to AutoCAD Standard DWG files.
To analyse wether we have or not any of the issues above, we can simply type the “BEDIT” command in AutoCAD, and we can look at the list of existing classes (Block Definitions):
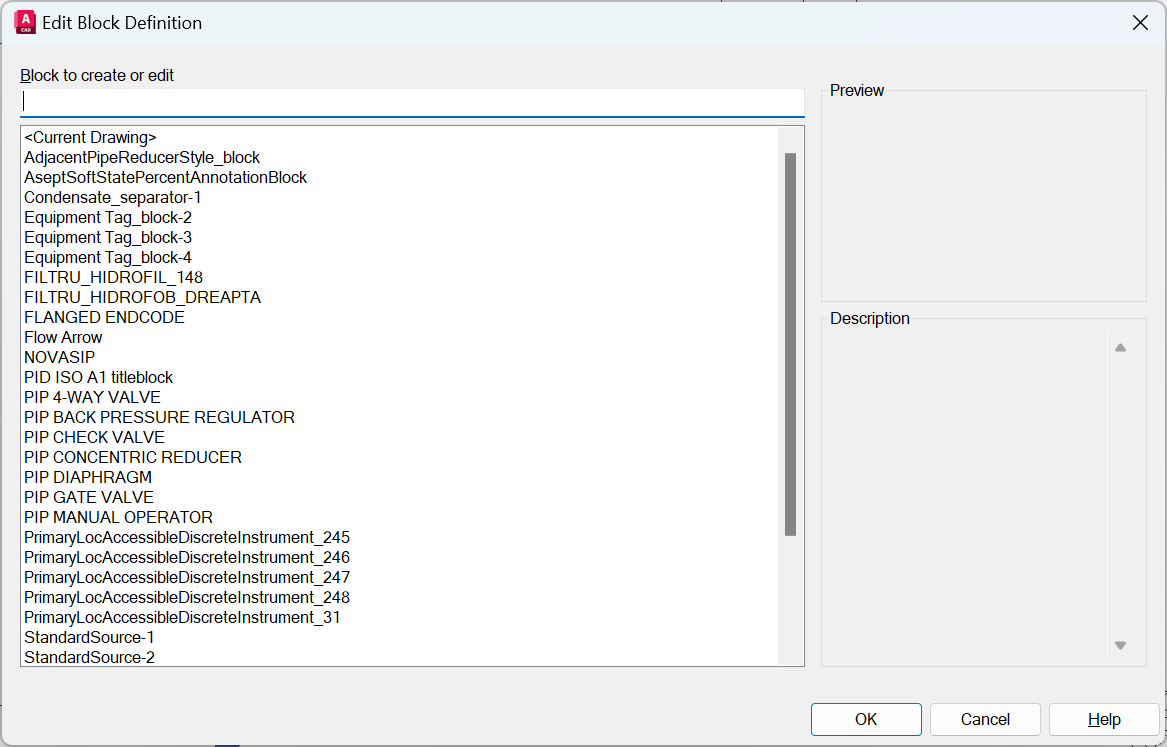
As we see in the example above, we have multiple Instruments which look identical (or similar recognition rules), as this DWG file comes from an AutoCAD Plant 3D export:
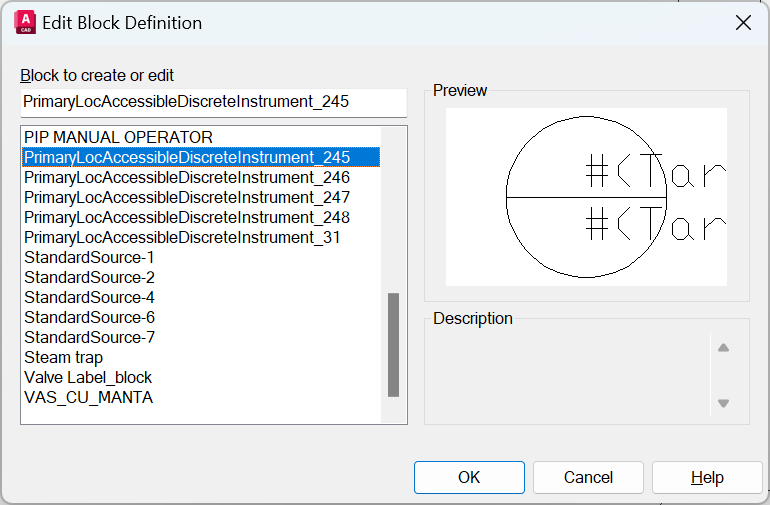
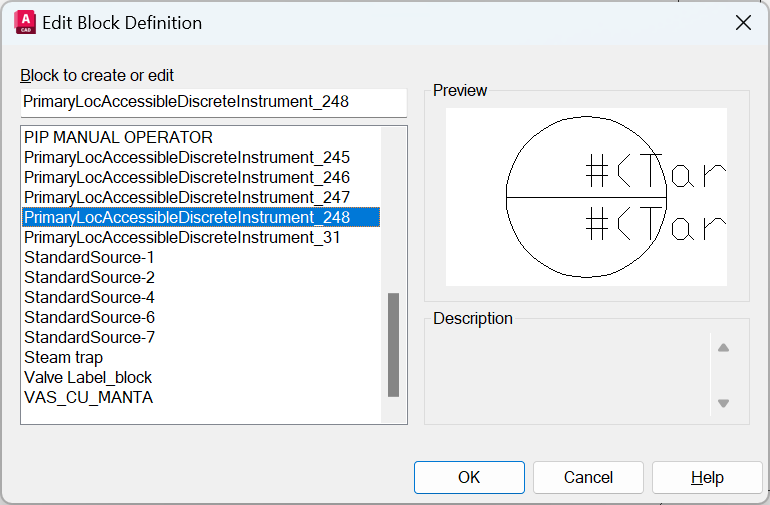
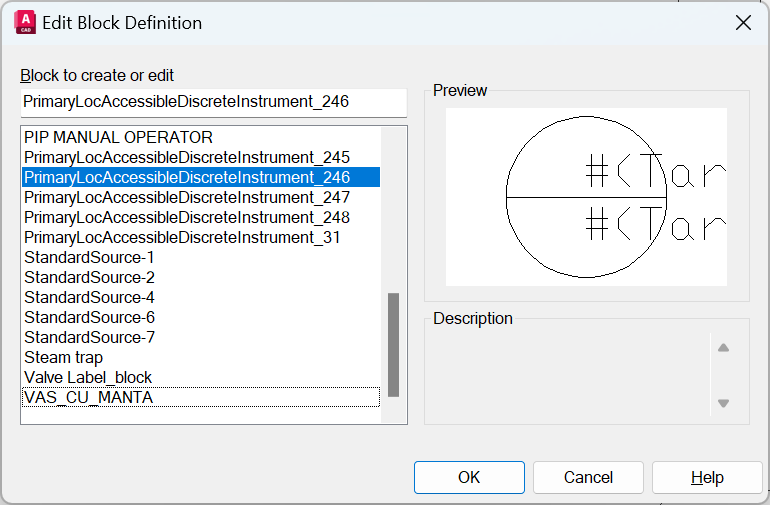
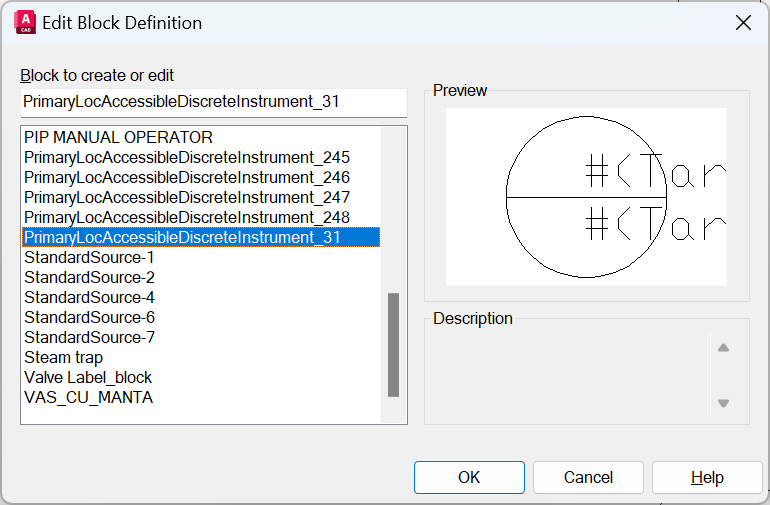
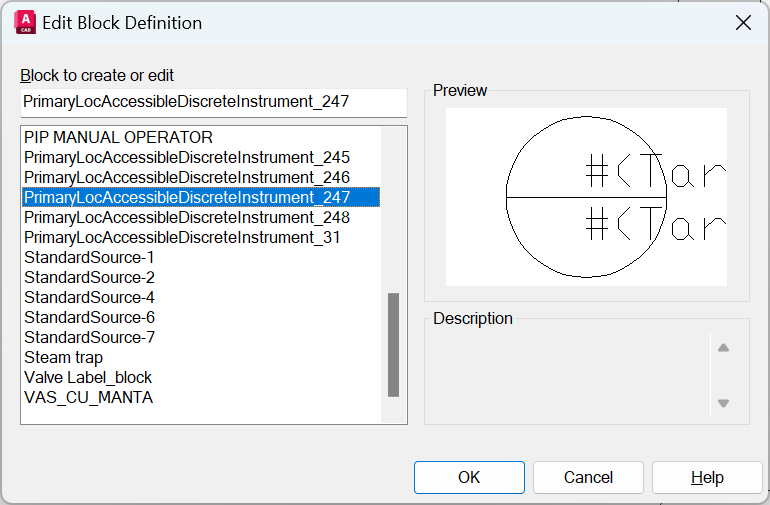
Thus we know we need to preform the group this classes.
Feature Benefits
To solve the problems above, we created this functionality which enables the user to automatically group the existing classes, and apply the recognition settings jut one time per group.
Setting up the groups
We can do this grouping using the Class Grouping Window, accessible through the Home Ribbon differences | Classification panel:
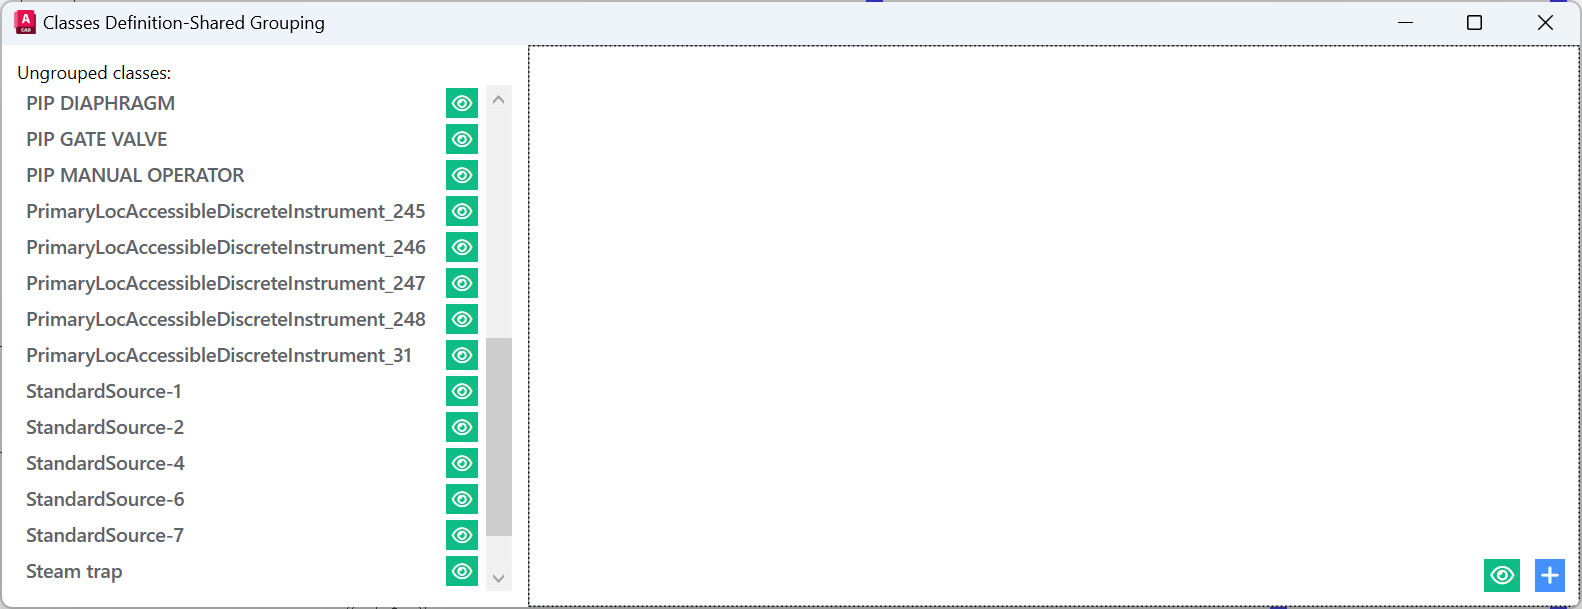
On the left side we can see the list of all the classes that exist in our P&ID. In the P&ID click a single block, and it will be automatically revealed the class it belongs to in this window.
On the right side we can see the list of groups we have created so far (none in this case).
Press the + button on the bottom-right of the window, and provide a name for the group to be created:/la


As you can see, there are 2 ways to include classes in this Group:
Automatically include classes in group
This method is used most of the time, as it can automatically understand the pattern of the classes included in this group, and it can reliably include future classes using the same pattern.
Example: if we see that in the current DWG we have classes:
PrimaryLocAccessibleDiscreteInstrument_245
PrimaryLocAccessibleDiscreteInstrument_246
PrimaryLocAccessibleDiscreteInstrument_247
PrimaryLocAccessibleDiscreteInstrument_248
PrimaryLocAccessibleDiscreteInstrument_31
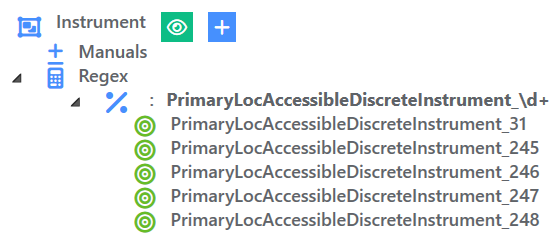
We can setup a rule that identifies everything that begins with PrimaryLocAccessibleDiscreteInstrument_ and ends with a few digits
To set up an automatic recognition rule, press the + button next to the group name

Then type the regular expression defining the pattern:

We use .Net regular expressions for identification.
For more specific expressions regarding specific types of text matches, refer to https://learn.microsoft.com/en-us/dotnet/standard/base-types/regular-expression-language-quick-reference or contact us to help you build your environment.
You can then expand the group to see the classes that have now been included:
Manually include classes in group
This method is rarely used, mainly if you want to create a one-class Group, or particular exceptions to the automatic rules.
Right click a class in the left panel:
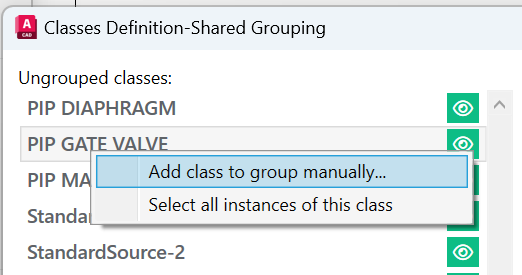
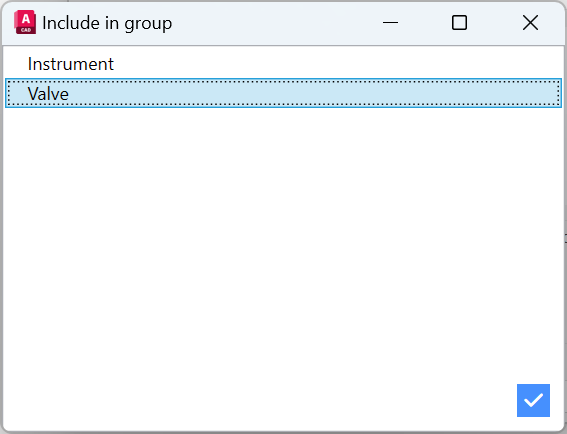
Select the group you want to include this class to, and press the check button on the bottom rig:
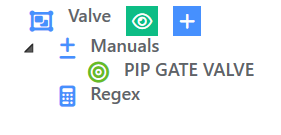
And you will see your class part of the manual inclusions of your group:
Quick Visualisation
If at anytime you wish to see which are the instances in the P&ID that are part of a class / automatic rule / group, you have some quick functionalities that help you find this:
Visualise instances of a group
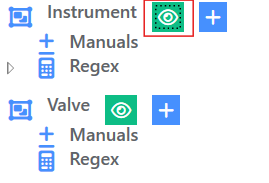
Press the green eye button next to a group, and you will see the instances of that group automatically selected in the DWG.
Visualise instances identified by an automatic rule
Right click the automatic rule you want to visualise, and press the “Select matching classes in PID”

Visualise instances of a class
Visualise instances of a grouped class:

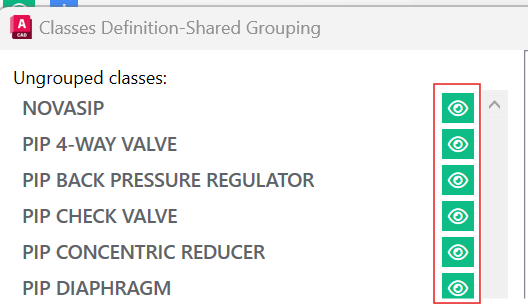
Visualise instances of an ungruped class:
